Point context menu
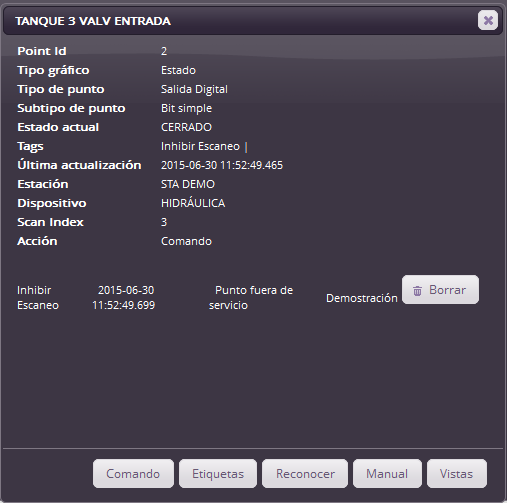
Clicking on any point of the system will open the following window
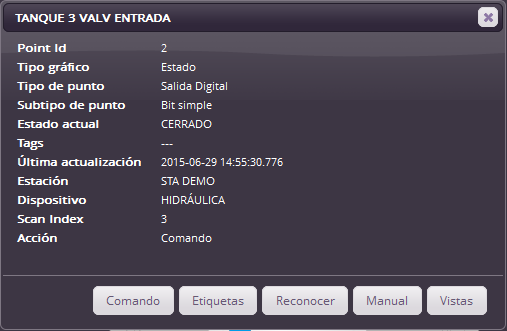
Point information
| Item | Description |
|---|---|
| Point Id | Unique identification of the point. Incremental value automatically assigned when new points are created. Matches the first column of the table in the Points section of EQUINOX Configurator |
| Graphic type | State, Bar, Gauge, Measure, depending on whether it is a Status, Bar, Gauge or Measure type symbol respectively. |
| Point type | Type and subtype of the point, matching the equivalent columns of the Points section of EQUINOX Configurator |
| Tags | Indicates the tags applied to the point. |
| Last update | Indicates the time at which the last change occurred on the indication (value) or the tags of the point. |
| Station | Station to which the point belongs. |
| Device | Device to which the point belongs. |
| Scan Group | Scan group to which the point belongs. |
| Scan Index | Index within the data block of the scan group to which this point is assigned. |
| Action | Indicates the Command if it has an associated remote control, otherwise it shows disabled. |
Menu buttons
Acknowledge
Allows acknowledging the alarms of this point, if it has unacknowledged alarms.
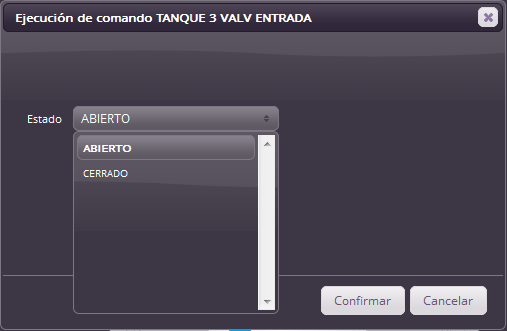
Command
Allows execution of the remote control associated with the point; this button will not be available if the point has no associated remote controls or the user does not have permission to perform them. To carry out the remote control, select the new state from the list and click Confirm.
Manual
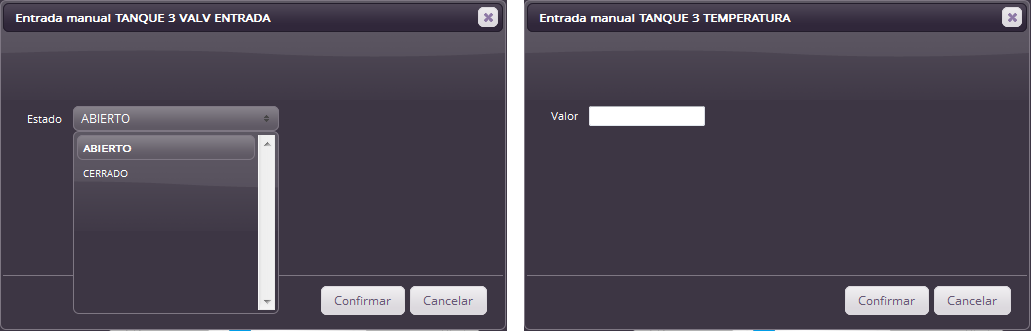
Allows a manual entry on the point, that is, entering a numeric value or manual state that replaces the one read from the corresponding Device. This can be useful when communication with the Device is interrupted for some reason, or to enter a reference value when this point is used for calculations or to set values of the Device’s analog registers.
For digital points the desired state is selected; for analog points the desired numeric value is entered. If communication with the Device is working correctly, this edit will be lost on the next scan unless the point has the Inhibit scan tag applied.
Tags
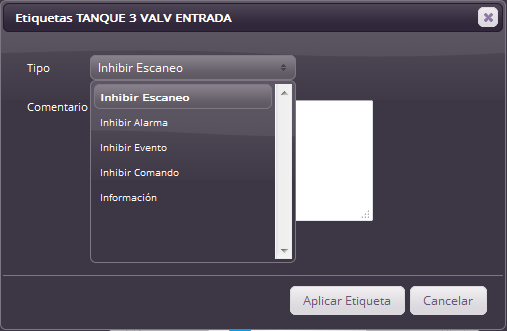
This option allows tagging the point with a tag. A comment can be added, which will be visible to other Users. When finished click Apply tag.
Once the tag has been applied it will appear listed next to the point’s context menu. It shows the tag type, the date it was applied, the comment entered and the responsible user. A Delete button is also included for removing it.
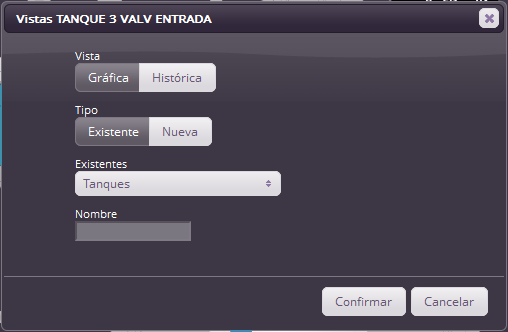
Views
Views are sets of points defined by the user in order to represent their historical values graphically or in table format
- In View select Graphic view to add this point to a chart, or Historical view to add it to a values table
- If the view was previously defined, select it from the Existing drop-down menu
- To create a view select New and type its name in New name
- To finish click Confirm