
Display creation example
Inkscape
To edit a display from scratch, you can open the inkscape.exe file located in the Inkscape subfolder within the EQUINOX folder. To edit an existing display, you can use the Inkscape button after first selecting the display to be edited within the Displays section of EQUINOX Configurator
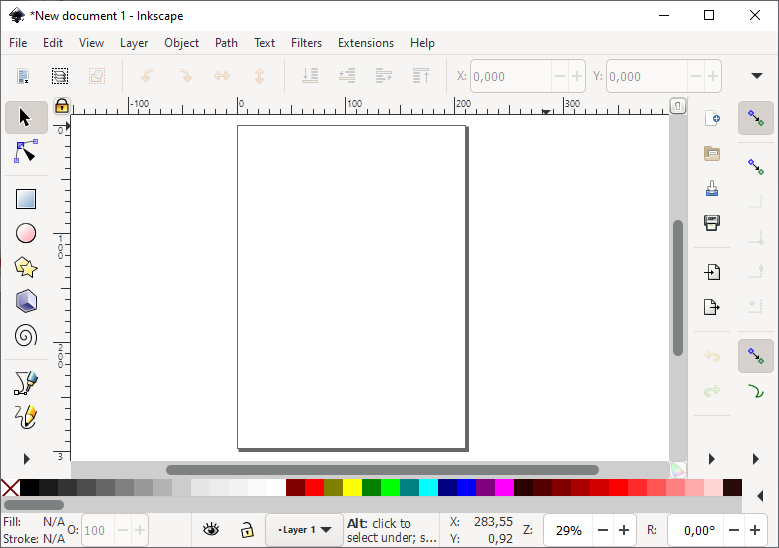
If you are creating a display from scratch, it is recommended to resize the display so that it has an aspect ratio appropriate for EQUINOX.
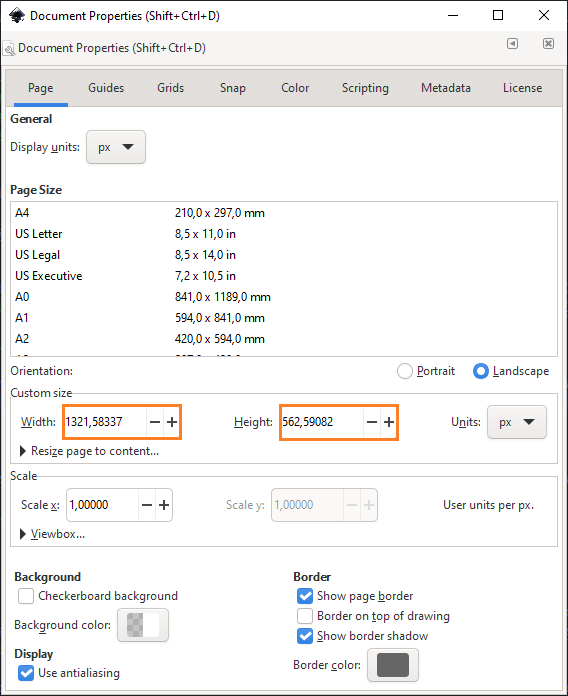
To do this, open File -> Document Properties and enter a Width value and a Height value such that the ratio Width/Height is approximately 2.35, for example 1320 x 560 px. If a display does not display correctly in the browser, you can edit these values to fix the problem.
Inserting symbols
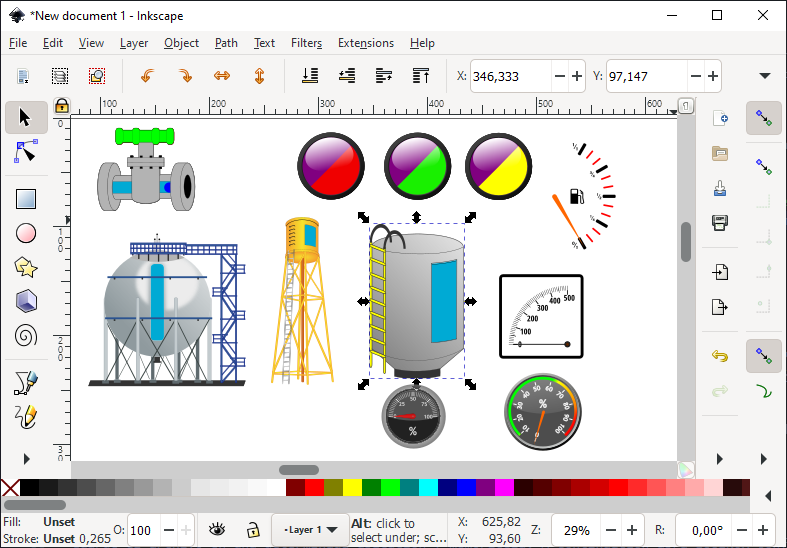
Open the symbols subfolder within the system’s folder. There you will find the symbols classified according to their type. These files are of the SVG type; it is recommended to install the SVG Explorer Extension, which lets you preview symbols directly in Windows Explorer.
To insert one or more symbols into Inkscape, click on the SVG file of the symbol you want to insert and drag it until you drop it onto the Inkscape window.
Useful operations in Inkscape
| Operation | Procedure |
|---|---|
| Show grid | Select View -> Page grid |
| Move with mouse | Select the element with the mouse and drag it to the desired position while holding down the left mouse button |
| Move with keyboard | Select the element with the mouse. Press the keyboard arrow keys to move it. Use Shift + arrow and Alt + arrow to move at higher or lower speed, respectively. |
| Duplicate | Select the element with the mouse and press Ctrl+D. A copy is created in the same position as the original, which can later be moved to the desired position. |
| Resize | Select the element with the mouse, open Object -> Transform; a panel opens on the right, select the Scale tab, choose %, and enter a Width value greater than 100 to enlarge or less than 100 to shrink; click Apply repeatedly until you get the desired size. |
| Align | Select two or more elements, open Object -> Align and distribute; a panel opens on the right with several buttons to align the selected elements to the left, right, center, etc. |
| Group | Select two or more elements and press Ctrl+G; from then on the elements are inserted into a <g> group. Alternatively, this can be done from Object -> Group. |
| Ungroup | Select a group and press Shift+Ctrl+G; the elements that belonged to the group are now ungrouped. Alternatively, this can be done from Object -> Ungroup. |
| Insert, edit, delete attribute | Open Edit -> XML Editor; a side panel opens that can be detached into an independent window. Select a group or element; at the bottom of the panel click + to add an attribute, and enter its name and value. You can also delete attributes with the x that appears to their left. This is how the eq-symbol and eq-data attributes of symbols can be added or edited. |
Assigning an SVG file to displays
When assigning an SVG file to a new display, or when you want to replace the existing file of a display with another, follow this procedure. If you replace an existing SVG file with a new one, remember that you will need to redo the name and subname assignment for all symbols
- Save the file, then open EQUINOX Configurator, open a project, and go to the Displays section.
- Select the desired display, click the button next to the File field, and select the SVG file you previously saved from Inkscape.
- Verify that Active is checked; otherwise the display will not be visible.
- Then click the “Save” button.
- Assign the display to one or more Users
- Make sure the display is checked in the Assign column of the user’s display list
- You can check Enable editing to give the user the ability to make the edits explained below
Assigning name and subname to symbols
Log in to EQUINOX Web with a user who has the display assigned in EQUINOX Configurator and Enable editing checked, as described above.
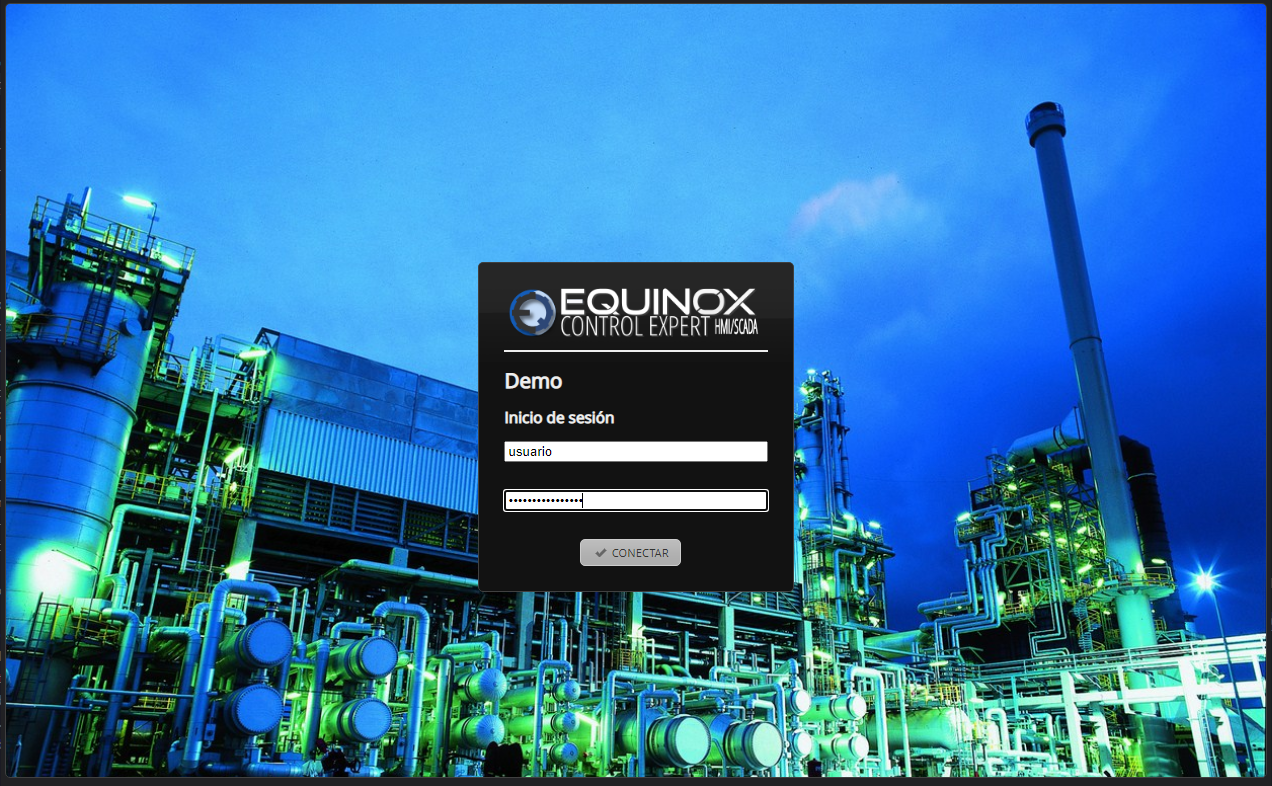
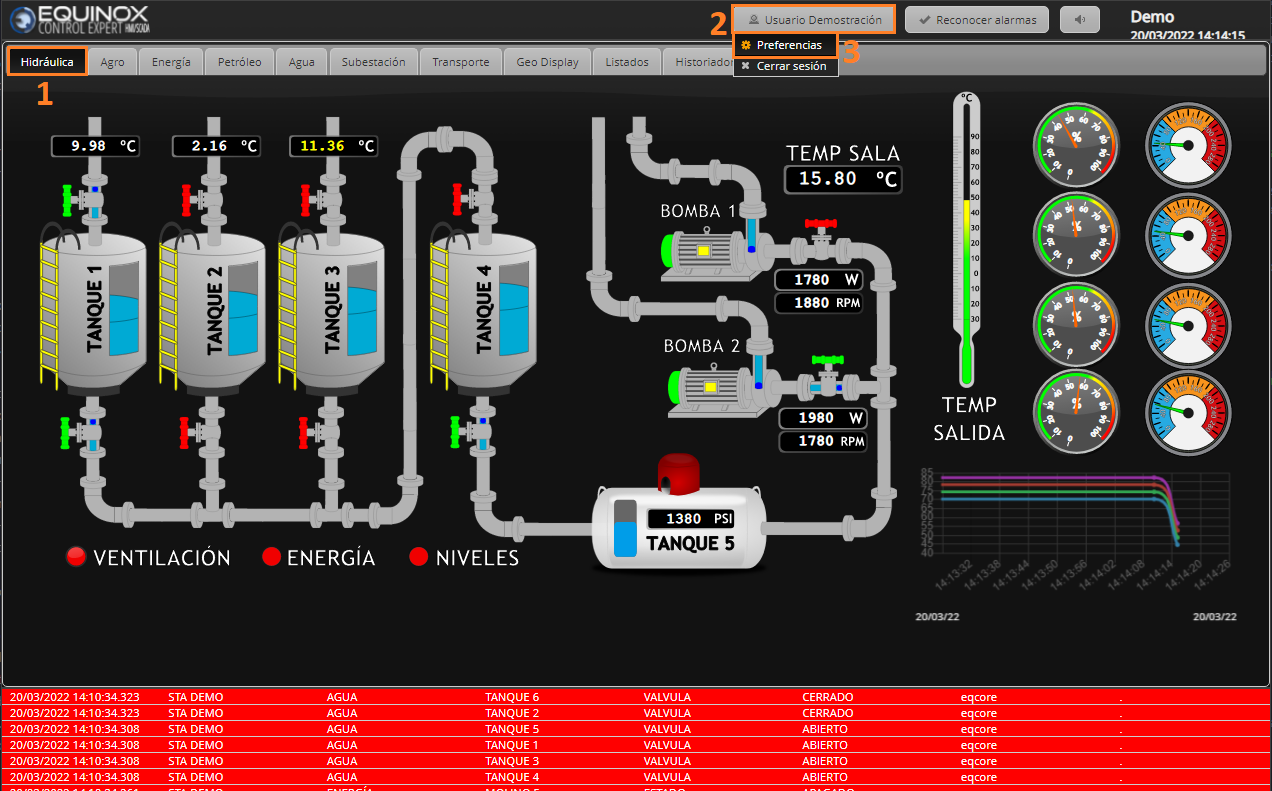
The created display appears as a new tab; select it, click on the user button, and go to Preferences.
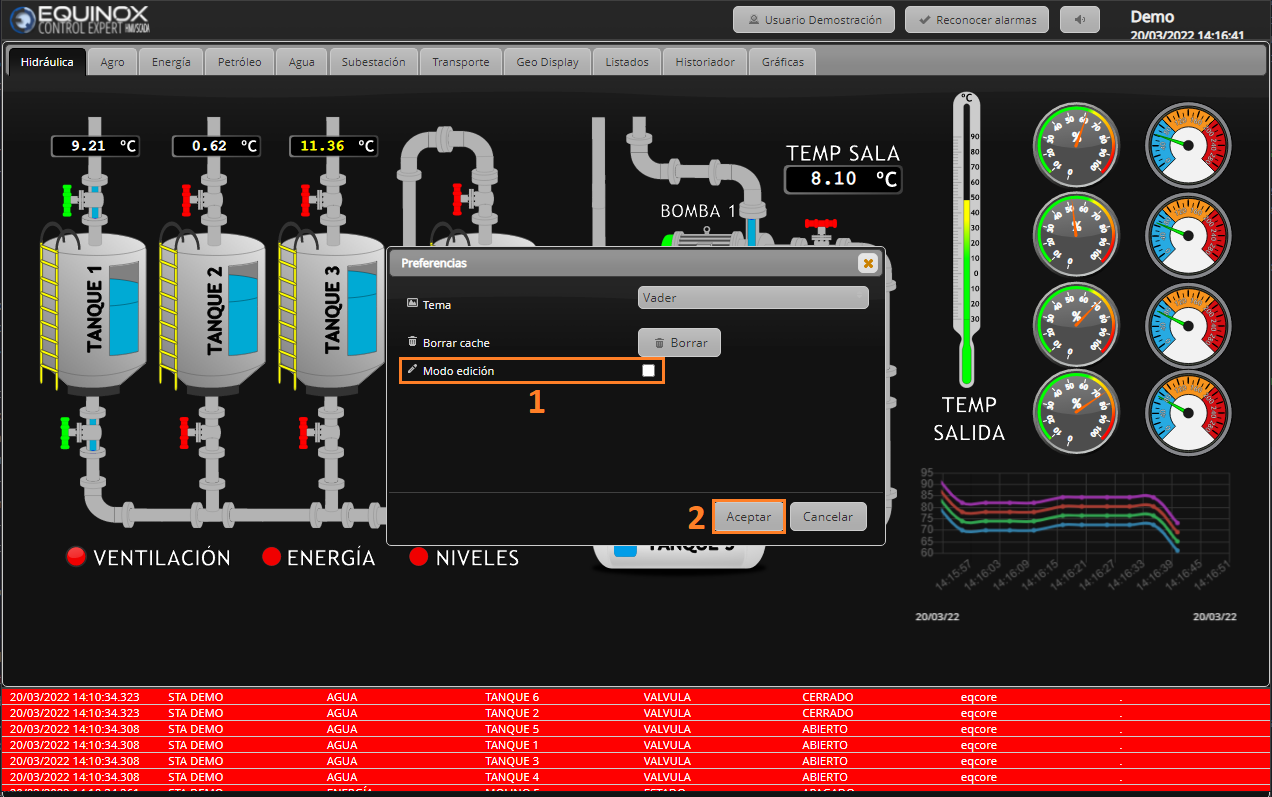
Check Edit mode in the popup window and click Accept
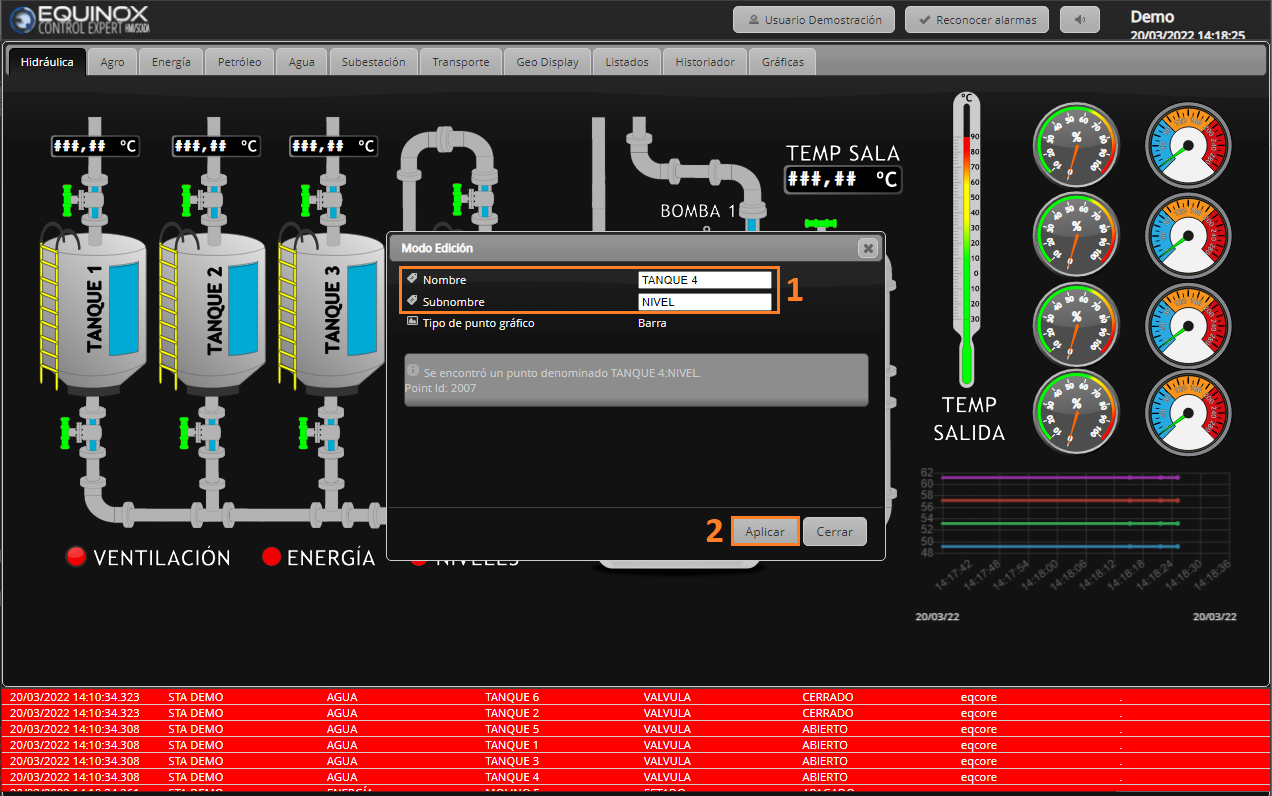
Click on each of the symbols and assign them a Name and a Subname, then click Apply; this triggers the creation of new points, which will be associated with these symbols.
You can later edit the point names in the same way; changes to names are subsequently reflected in EQUINOX Configurator.
Turn off Edit Mode from the Preferences window.
In the Points section of EQUINOX Configurator, choose the corresponding display from the drop-down list on the left; you can then see the new points by selecting the symbol types from the drop-down list on the right.
You will be able to identify the new points by the Name and Subname you entered earlier from EQUINOX Web. The rest of the parameters will still need to be defined, which can also be done from that same section.